So, you got your paint bucket ready, and you are thrilled to see that deck painting. You have finally set time aside and decided to roll your sleeves. Good for you!
However, there is a reason why you are here, aren’t you? You are either a complete newbie or someone who already tried their hand at painting. In both cases, you are here to get some professional tips. Well, you are in luck! This, here, is your complete guide.
Painting a deck is a great way to enhance its appearance and protect it from the elements. By following a few simple steps, you can prepare your deck for painting and achieve excellent results.
Today, we will provide you with a step-by-step guide that is easy to understand and follow. Let's get started!
Materials you will need
- Deck brush or broom
- Garden hose or pressure washer (with adult supervision)
- Mild soap or deck cleaner
- Safety goggles
- Old clothes or a smock
- Painter's tape
- Plastic sheets or drop cloths
- Sandpaper or sanding block
- Bucket or container for water
- Paint roller or brush
- Paint (choose your favourite colour)
Step 1: Gather Materials
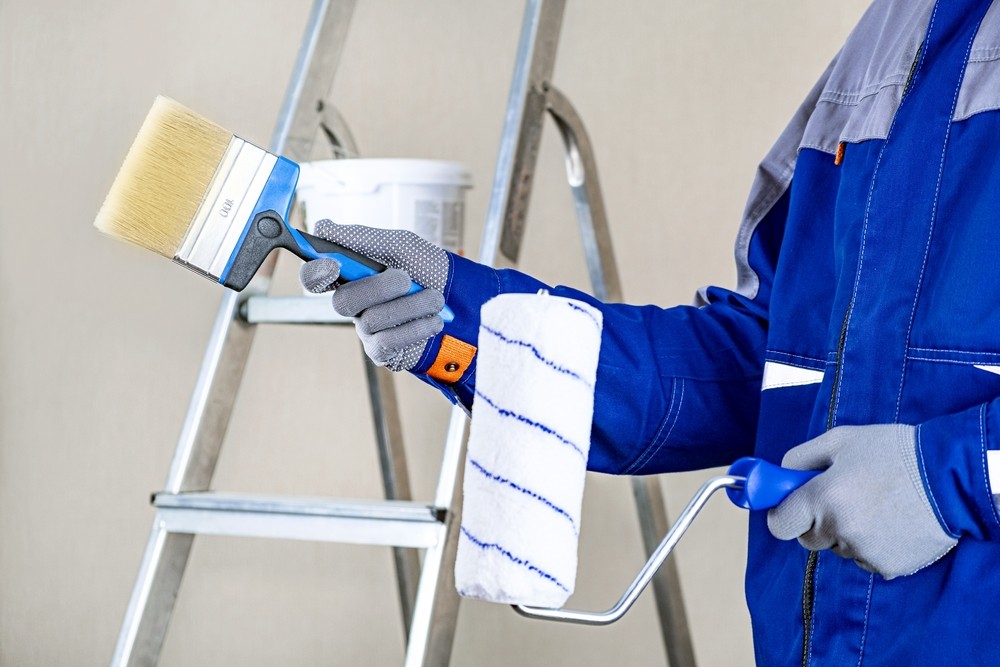
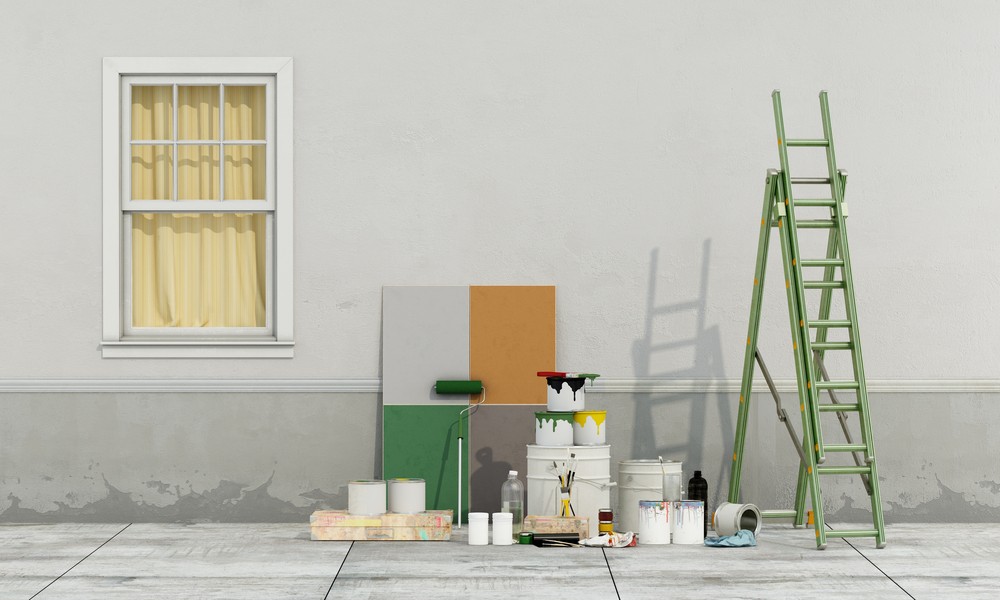
Before you begin, make sure you have all the necessary materials. This includes brushes, cleaning supplies, safety goggles, old clothes, painter's tape, plastic sheets, sandpaper, a bucket, a paint roller or brush, and the paint of your choice. Got everything? No? Come back when you get all of it.
Step 2: Clean the Deck
You don’t want to start painting on a dirty deck! You have got to sweep the deck with a broom or deck brush to remove any loose dirt, leaves, or debris. Next, use a garden hose or pressure washer to rinse the deck and get rid of any remaining dirt. If the deck is particularly dirty, mix mild soap or deck cleaner with water and scrub the deck using a brush. Rinse thoroughly with water and allow the deck to dry completely.
Step 3: Protect Surrounding Areas
If you don’t cover the surrounding areas with a protective sheet, your surroundings will start looking like a horror movie scenario. We really wouldn’t want that! Cover everything you don’t want to get paint on, including plants!
Step 4: Sand the Deck
If the surface isn’t smooth, it will make the paint look really ugly. Using sandpaper or a sanding block, gently sand the deck's surface. This step helps the paint adhere better and creates a smoother finish. Pay extra attention to any rough spots or splinters, sanding them until they feel smooth to the touch. Once you're done, clean up any sanding dust with a broom or brush.
Step 5: Mix the Paint
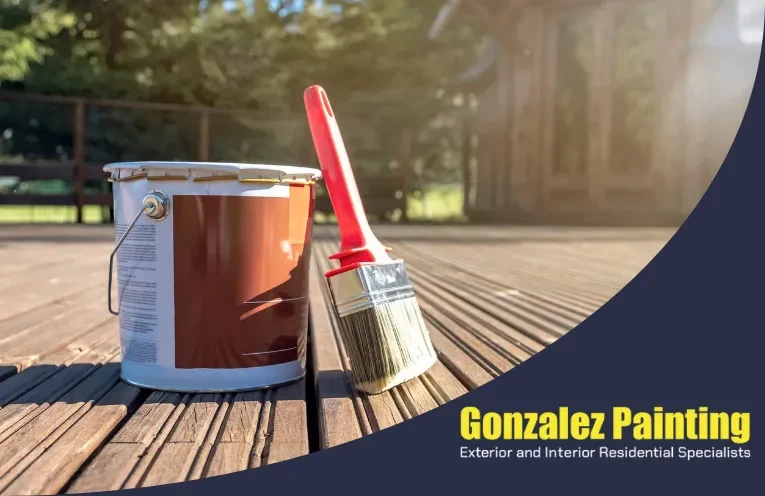
Open the paint can and stir the paint using a stick or paint stirrer until it is well-mixed. If the paint is too thick, you can add a little bit of water. Don’t be afraid to ask for help when handling paint. Especially if you are working with others who have more experience, you would want to leverage their expertise.
Step 6: Paint the Deck
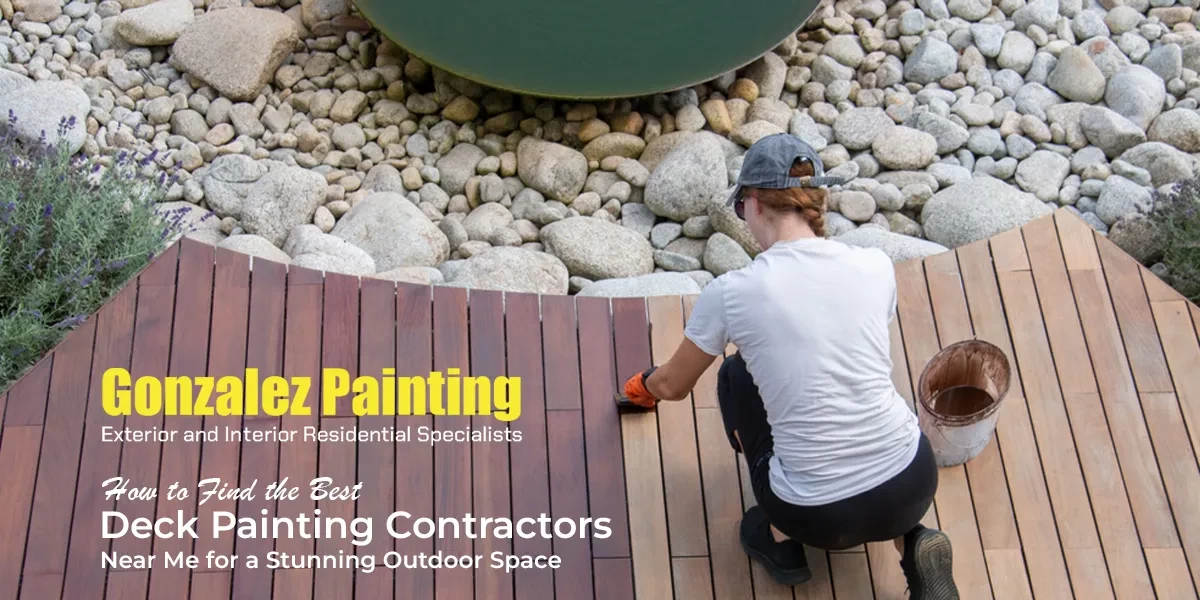
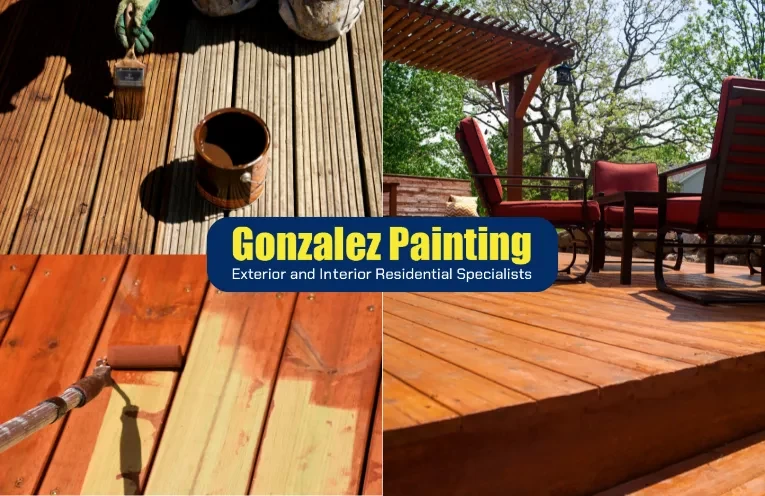
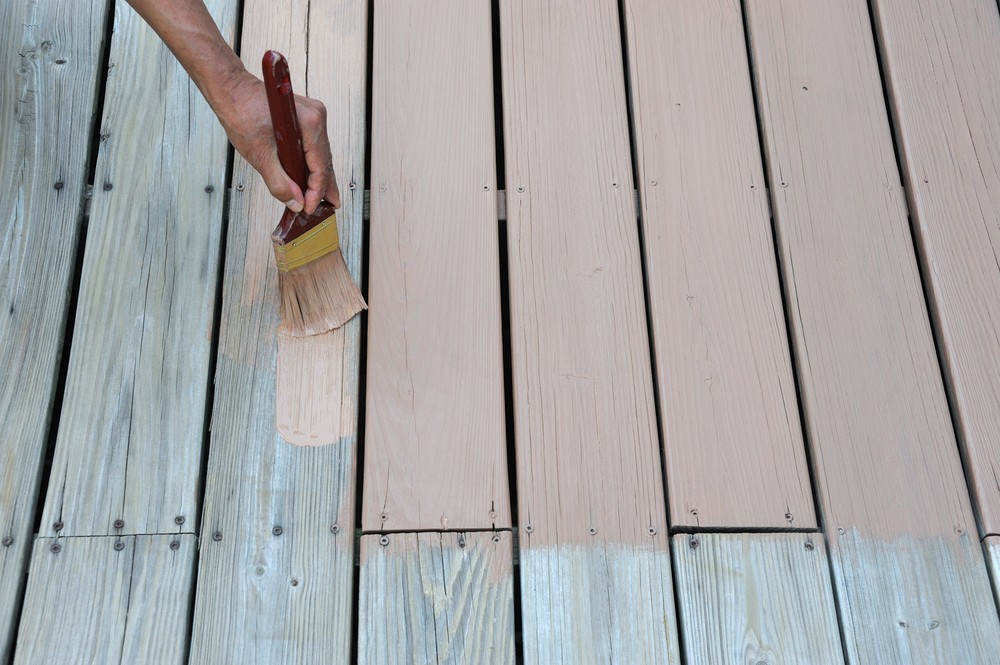
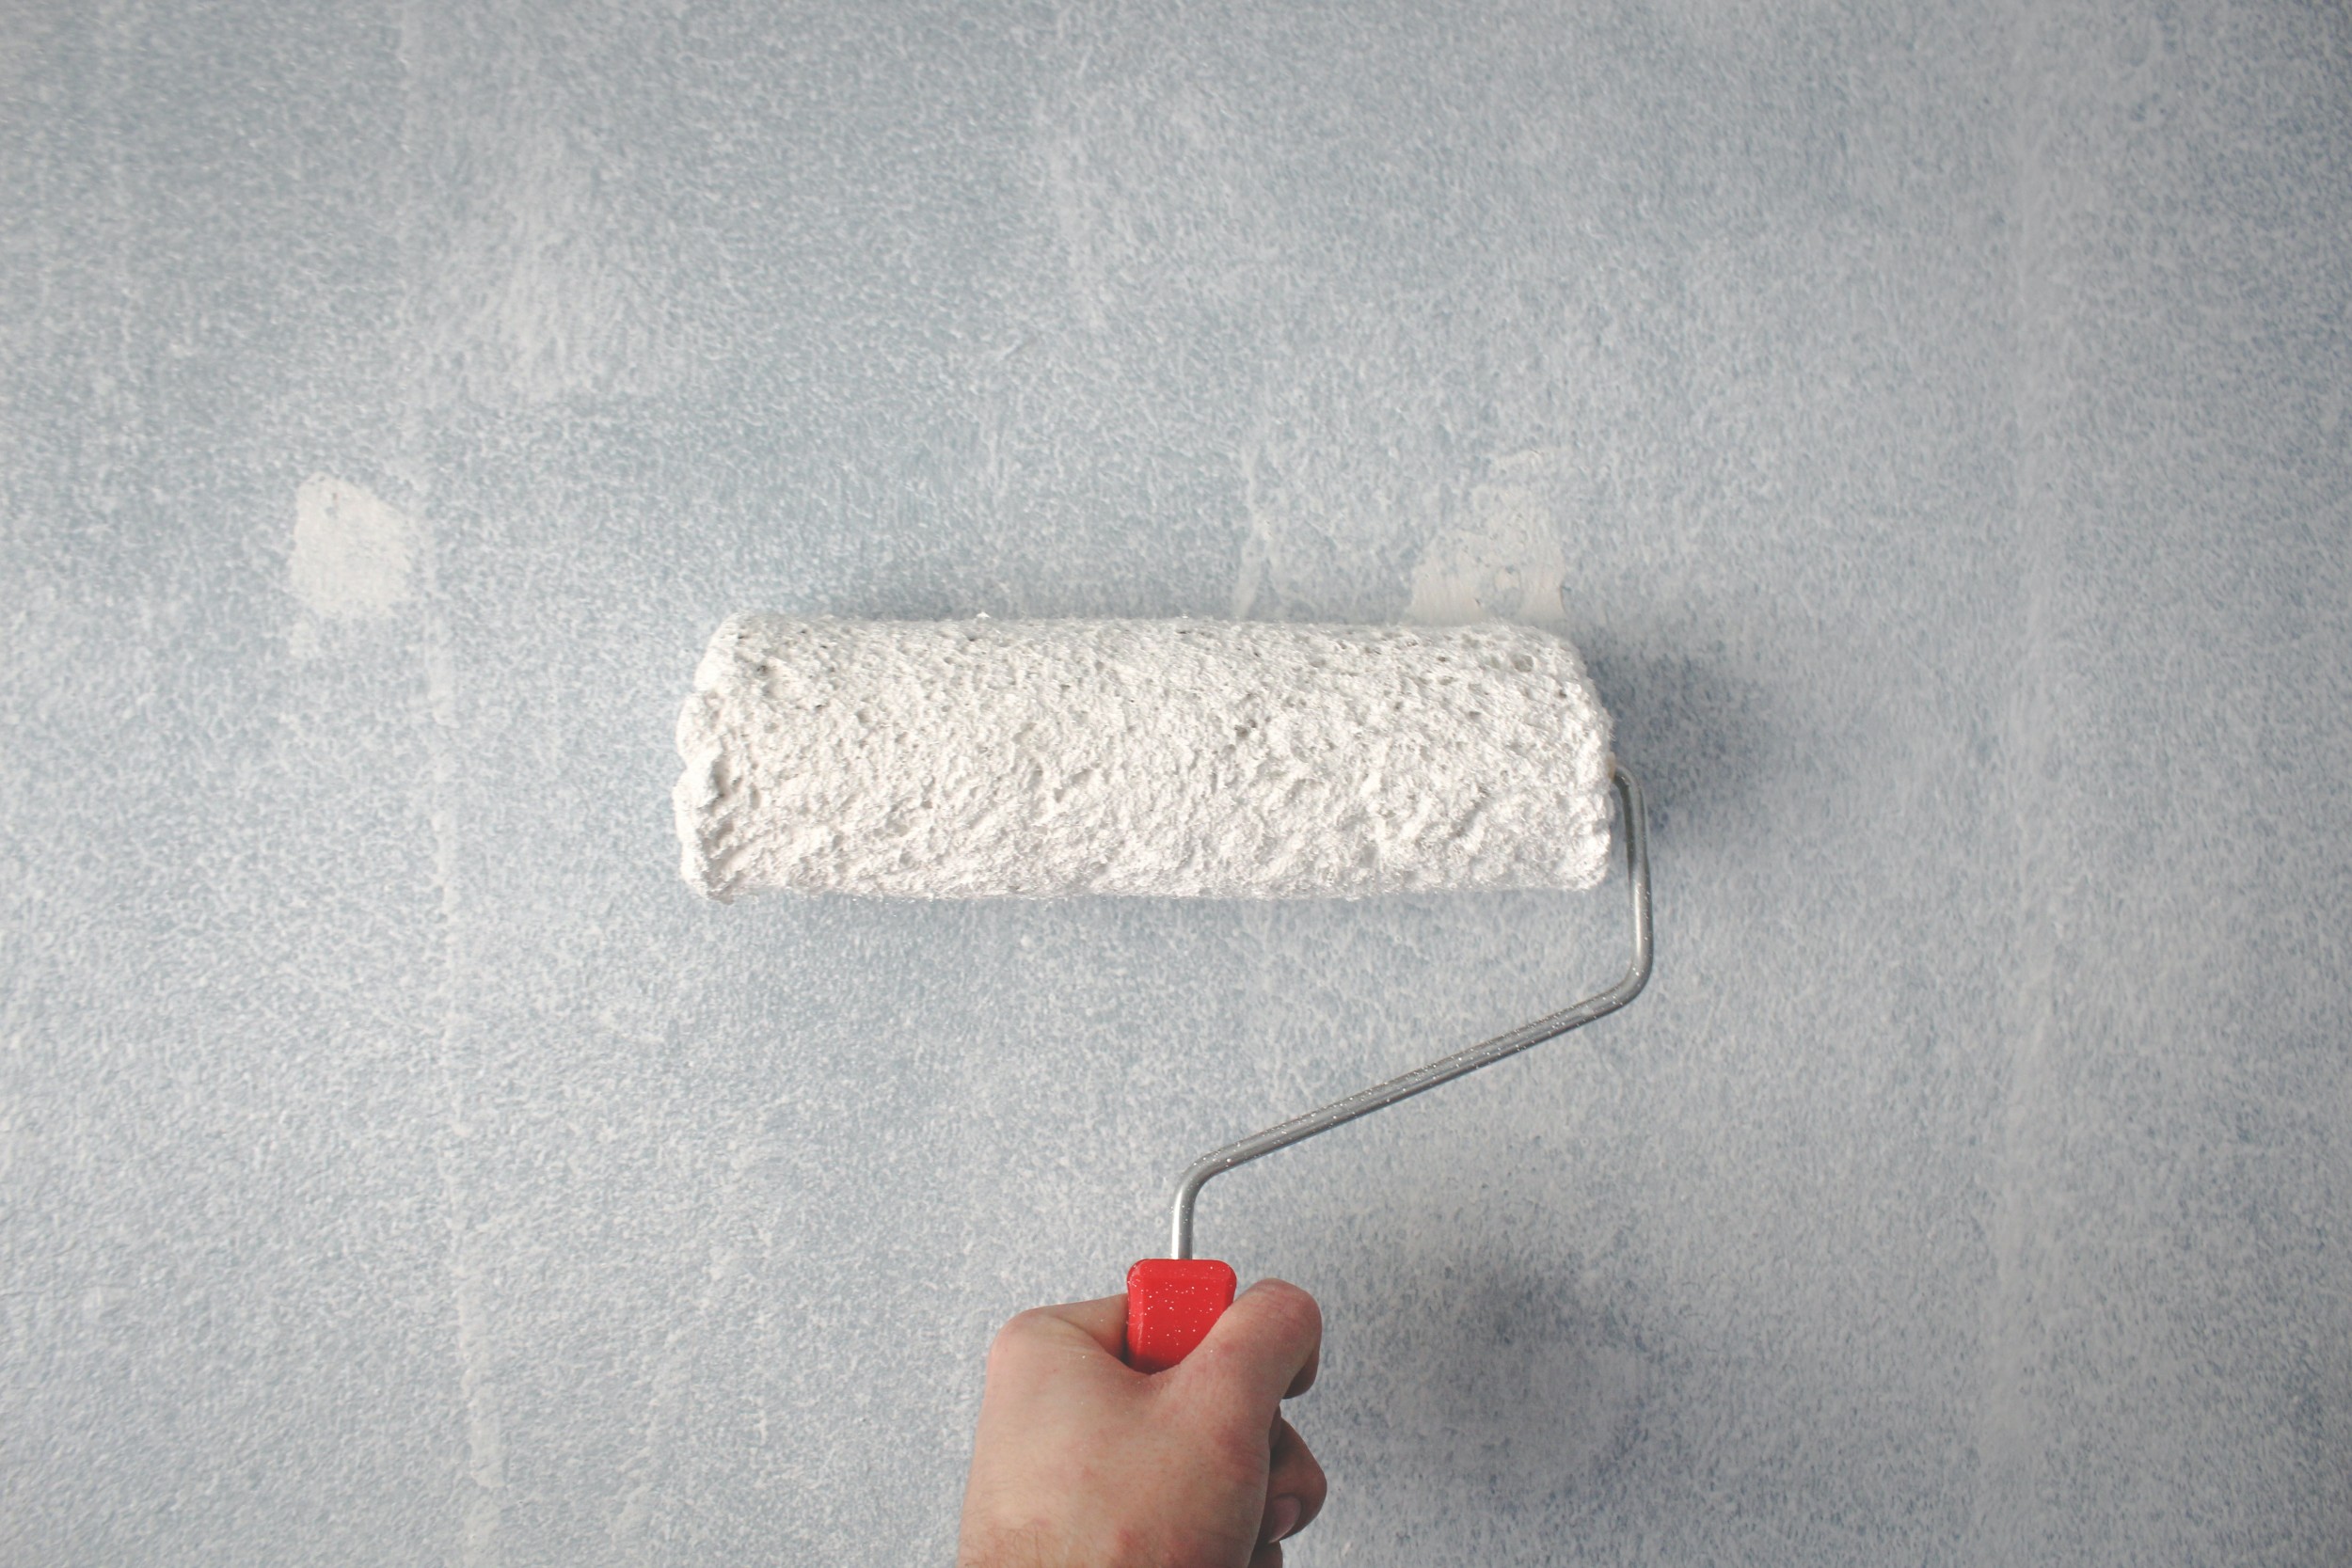
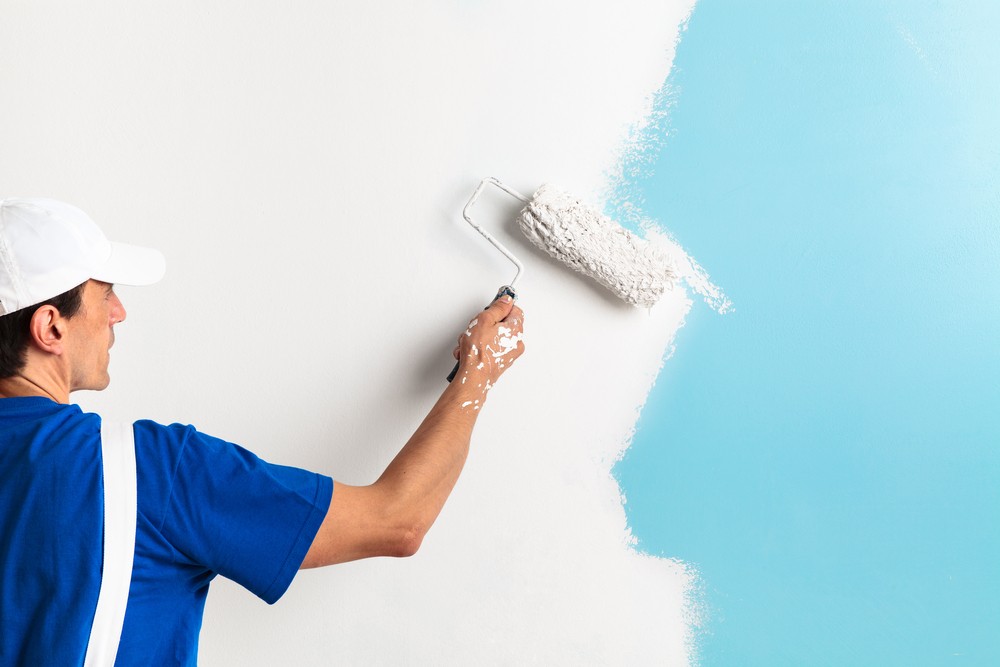
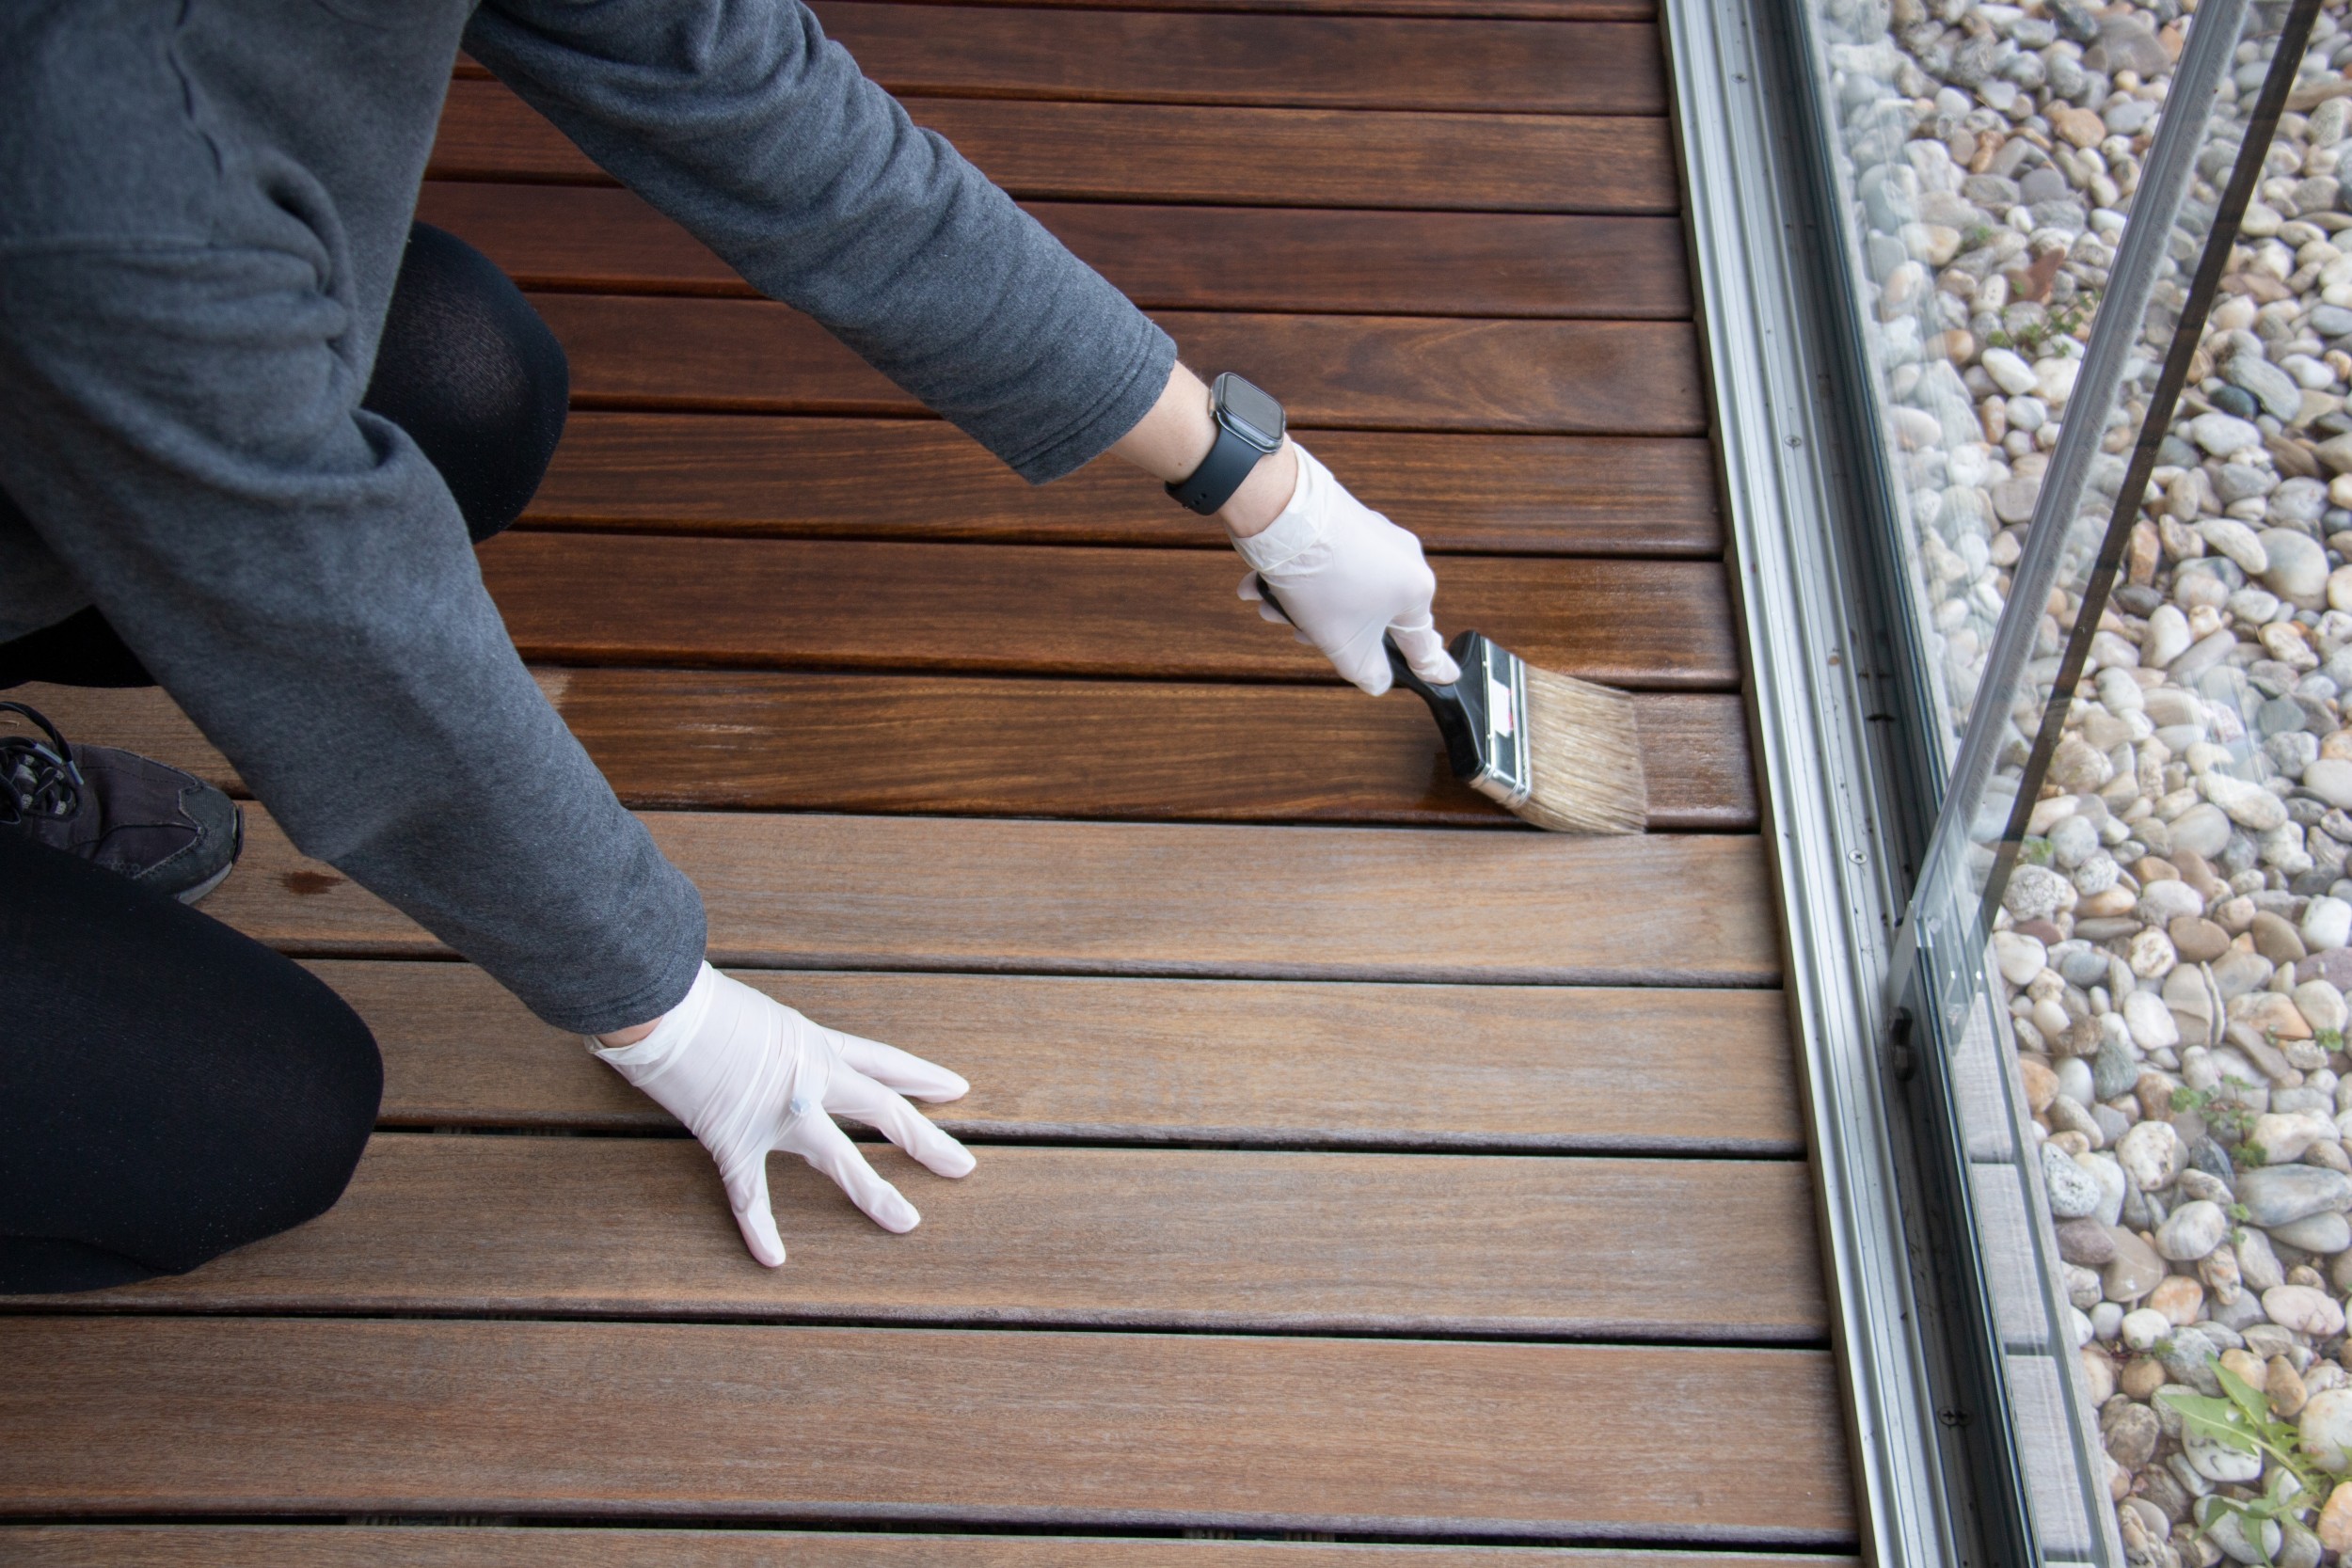
Dip your paint roller or brush into the paint, making sure to get a good amount on the bristles. Apply the paint to the deck boards using long, even strokes. Start from one end of the deck and work your way to the other. If you're using a roller, roll it back and forth over the boards to spread the paint evenly. Allow the first coat to dry completely before applying a second coat if needed. Refer to the instructions on the paint can for recommended drying times.
Step 7: Clean Up
After you've finished painting, rinse your brushes or rollers with water right away to prevent the paint from drying on them. Remove the protective covers or plastic sheets carefully, disposing of them properly. Wash your hands and any paint spills or splatters on your clothes with soap and water.


