Table of Contents
- Summary
- Introduction
- Gather Your Supplies
- Clear the Area
- Clean the Surfaces
- Repair Any Damages
- Tape Off Areas
- Choose the Right Primer
- Consider the Weather
- Protect Your Floors
- Plan Your Painting Strategy
- Check for Pest Issues
- Pros And Cons
- Conclusion
- FAQs
Summary
Preparing the walls of your house for painting services will be one of the most vital areas that have to be undertaken in a very professional manner. This post will simplify the preparation process. Starting with collection of supplies to how you must protect the floors and check whether there are any pest infestations. Follow these steps to ensure a smooth and successful painting project. For expert painting services, trust Gonzalez Painting.
Introduction
Painting your house is what can add life to the space, but good preparation is very vital in delivering a professional finish. Preparations in the professional or DIY scope, make the right ones, and you'll see just how much of a difference it makes. This article will help you to learn easy steps to prepare your house for painting so you get the best result.
Gather Your Supplies
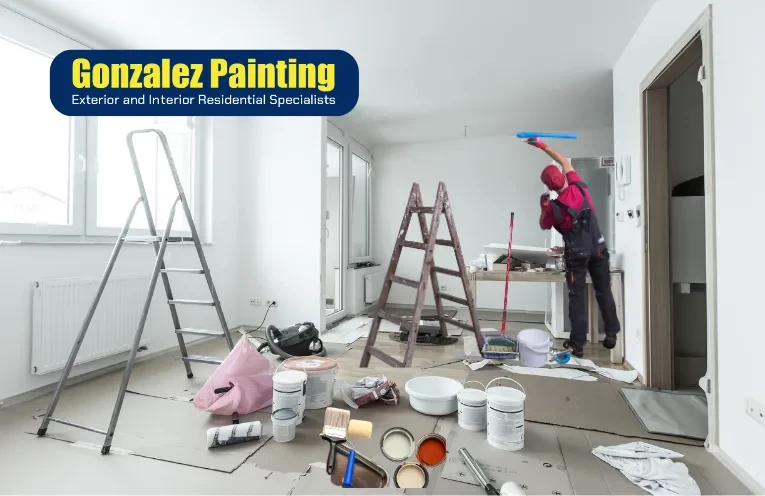
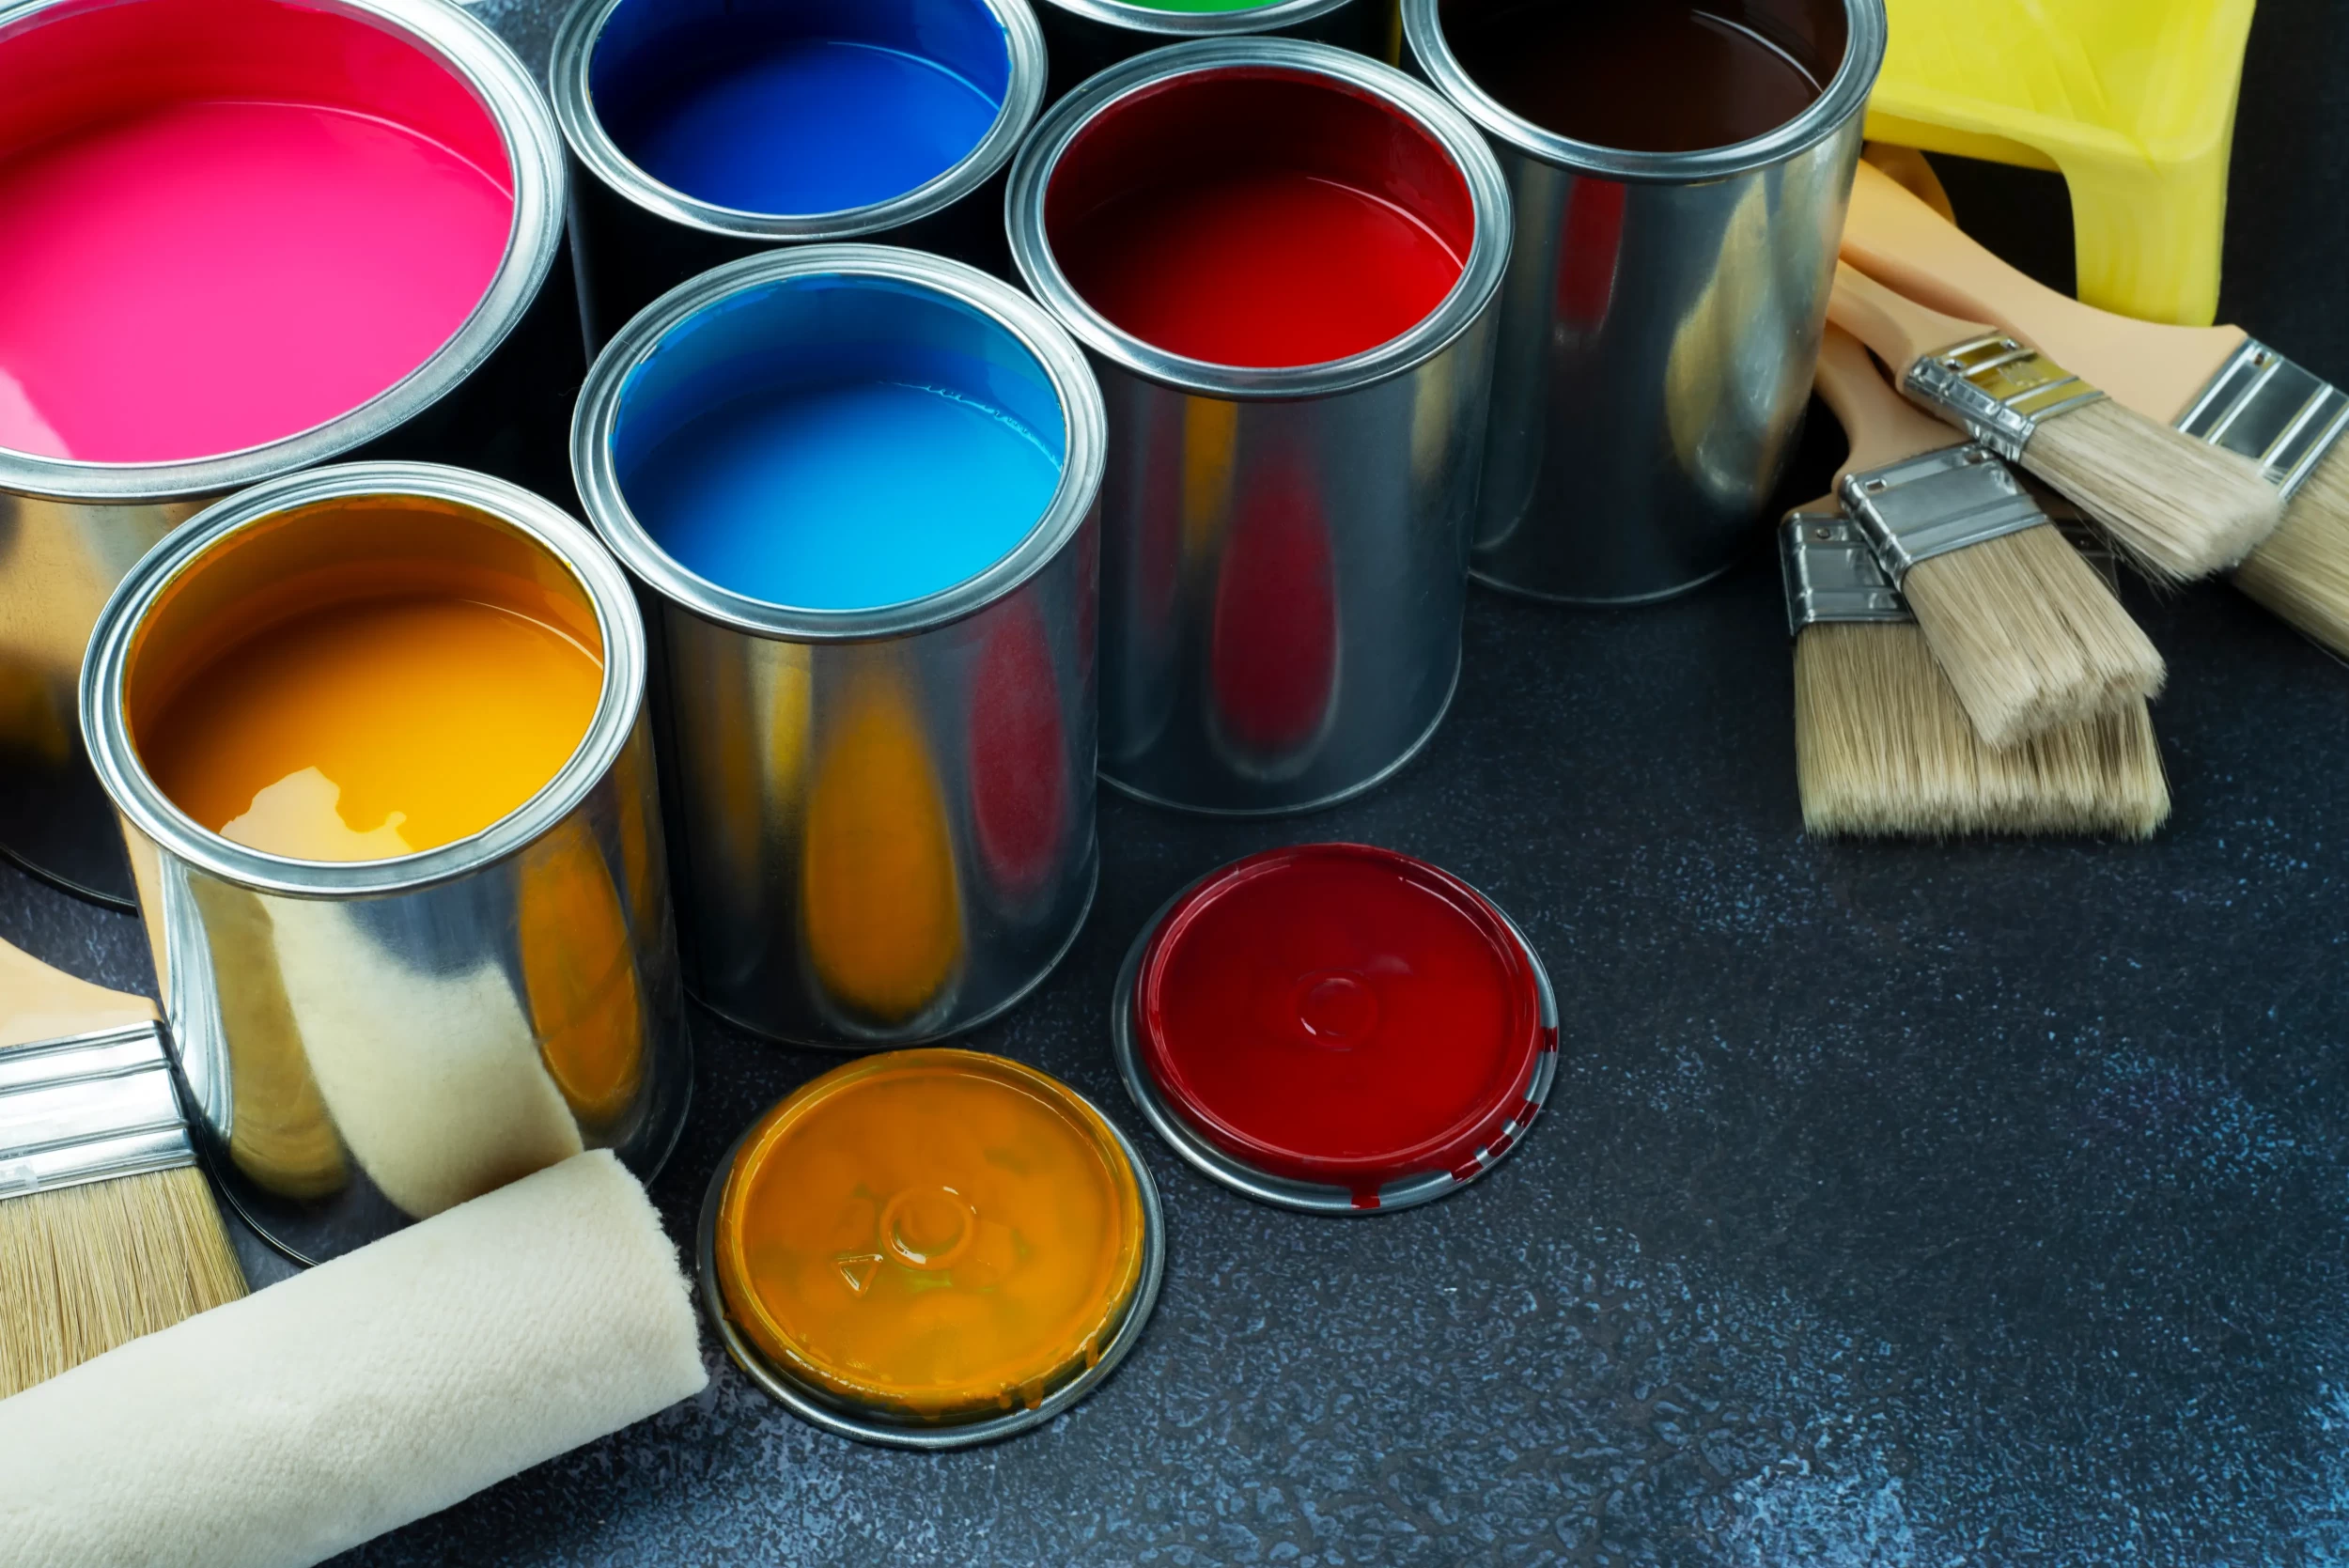
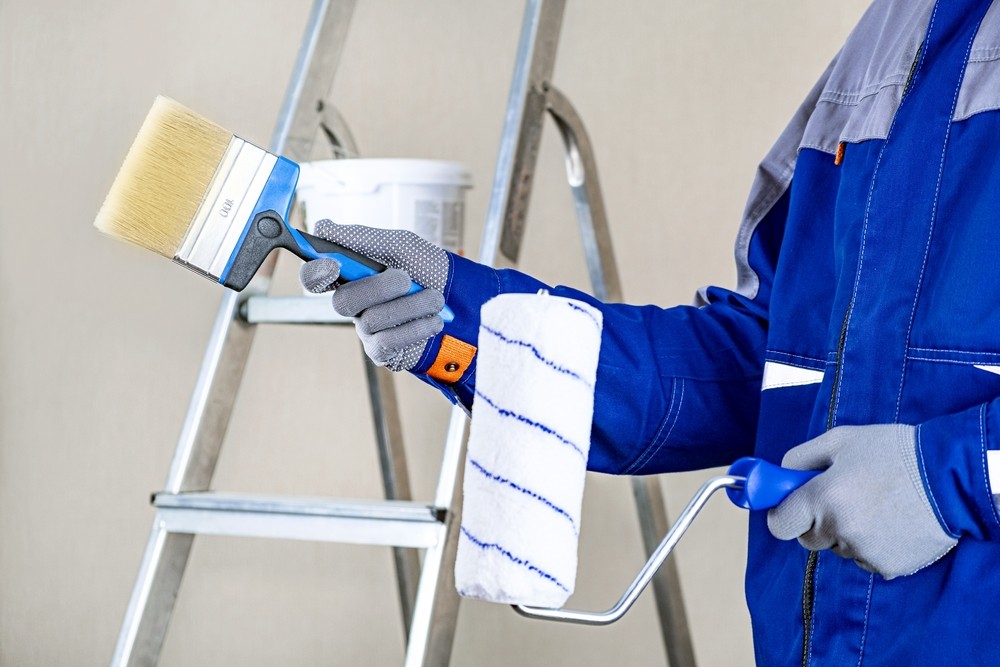
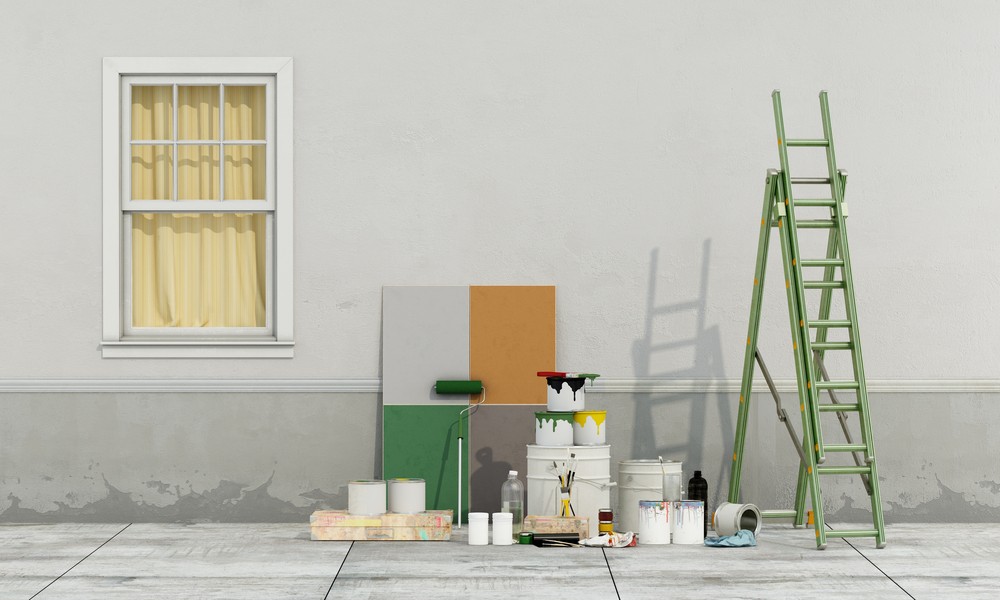
Before you start, gather all the necessary supplies. You'll need:
- Drop cloths
- Painter's tape
- Cleaning supplies (soap, water, and sponges)
- Sandpaper or a sanding block
- Caulk and a caulking gun
- Primer
- Paintbrushes and rollers
Having everything on hand will save you time and keep your project running smoothly.
Clear the Area
Clear the area you plan to paint. All furniture and ornaments should be evacuated or taken to the other side of the room. All products that can interfere with or impact the painting should also be removed. If the item cannot be evacuated, drop clothes over it to prevent dust dripping onto the item. Also splatters of dust generated from the artwork. A clean workspace allows you to paint much more rapidly and minimizes damage that can be caused in household items.
Clean the Surfaces
Clean surfaces thoroughly before exterior or interior painting services. All the three factors that include dust, dirt, and grease break adhesion. Clean down walls, trim, and all surfaces you are painting with a soap and water solution. If the stains or mildew have spots that are immune to normal cleaners, you may need a cleaner that specifically addresses the type of stain or mildew. Allow to dry completely before proceeding to the next step.
Repair Any Damages
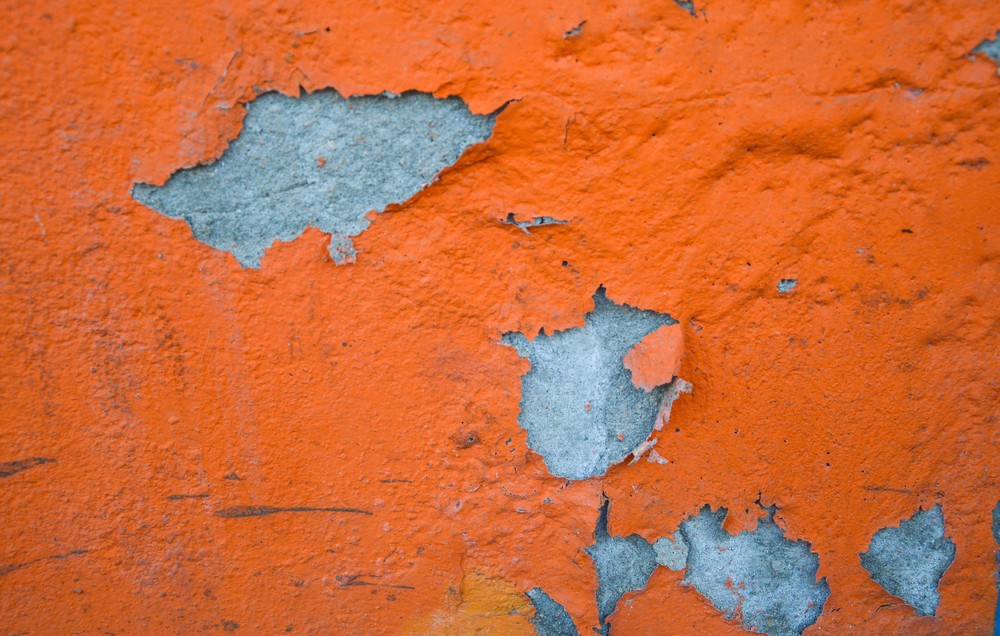
Check inside your walls and surfaces for cracks, holes, or tears. Apply the spackling paste to all small holes and cracks, then allow the dry time to be completed. You should use a patching compound if the holes are large. Sand the repaired area when it is completely dry so it's smooth. The paint adheres and gives you that professional finish.
Tape Off Areas
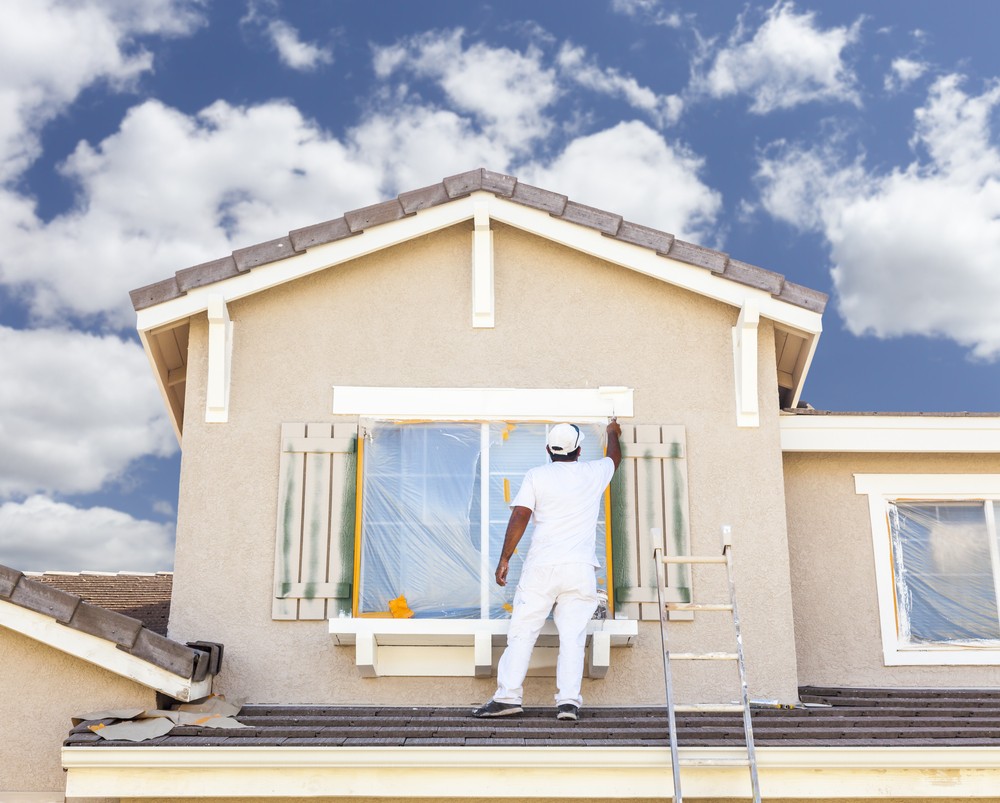
Protect areas with tape which you are not going to paint. This includes trim, windows, and door frames. Use the tape carefully and paint so that none of the paint bleeds underneath the tape. Taking the time to tape off these areas will give you cleaner lines and a more professional finish.
Choose the Right Primer
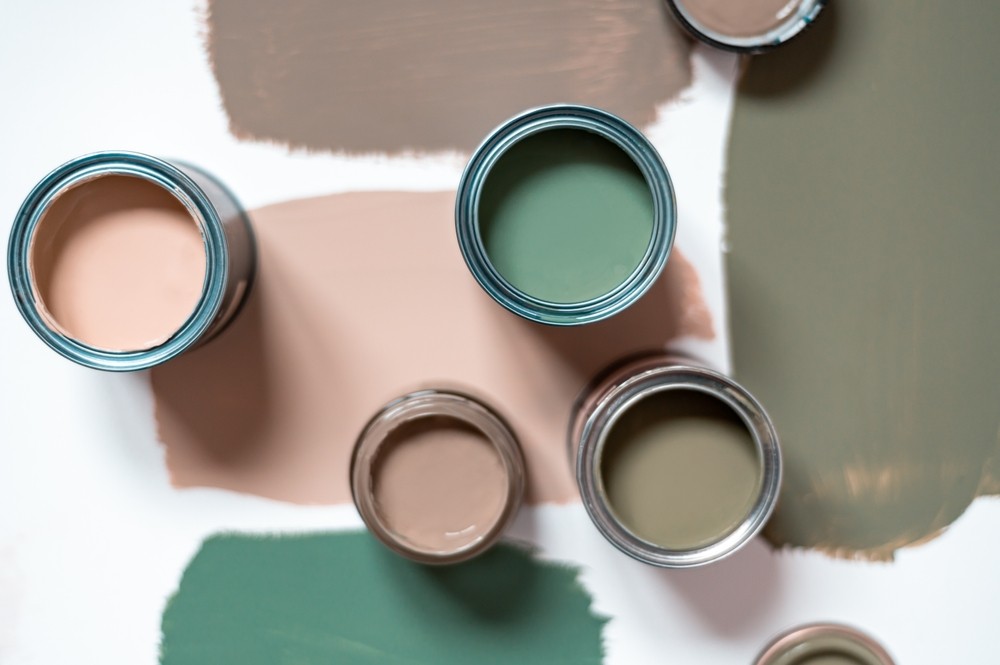
Primer is essential for achieving the best paint results. It will help the paint stick better and may enhance color and durability of the finish. Select a primer suitable for the paint you will be using on the job. If you are painting over a dark color or a surface with stains, you want to make sure to get a good primer so you ensure you are getting an even coat.
Consider the Weather
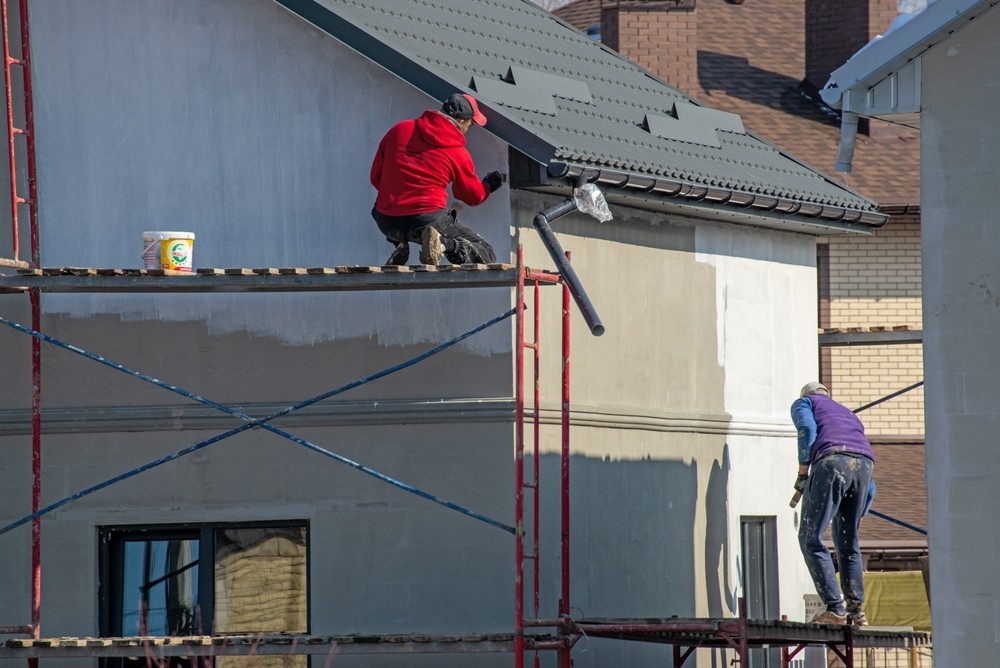
Weather conditions can significantly impact your painting project. The best painting temperature ranges from 50°F to 85°F. Weather conditions should be carefully observed to avoid painting during wet days. Or when temperature is high as the fast evaporation process would not suit paint drying and final finishing.
Protect Your Floors
Before you start painting, take steps to protect your floors. Tape drop cloths or plastic sheets in advance to catch any spills. This will make cleaning easier and prevent damage to your flooring.
Plan Your Painting Strategy
Have a plan for how you will tackle the painting project. Start with ceilings, then move to walls, and finish with trim. This strategy will help you avoid having to go back and touch up areas, ensuring a more efficient process.
Check for Pest Issues
Even before painting is to start, inspect if you have some pest problem like termites or rodents that can cause destruction on your walls. Early detection will be able to avoid further damage in the wall when the painting occurs.
Pros and Cons of Preparing Your House for Painting
| Pros | Cons |
| Ensures better paint adhesion | Takes time and effort |
| Professional finishing | Possible additional costs for repairs |
| Protects your furniture and belongings |
Conclusion
Good preparation determines how successful a painting project will be. Easy steps involved gathering supplies, clearing the area, cleaning surfaces, repairing damages, taping off areas, and choosing the right prime. You will set yourself up for a smooth and enjoyable painting experience.
For professional help, trust the experts at Gonzalez Painting. They have years of experience. They ensure the best possible results.
FAQs
What is the estimated time to paint a room?
This can be as short as a few hours or as long as the room is big and requires much preparation; one can never really know in advance.
Do I need to prime if I am using high quality paint?
Some high quality paints claim you don't need to use primer. But a good primer is still suggested for the most efficient finish, especially on bare or repaired surfaces.
How do I know when my walls need a scrub before painting?
Clean if you can see dust, stains, or grease. Even if you cannot see these substances, a quick wipe down may help improve the adhesion of the paint.

